Authentication
Choose how people sign in with AUTH_MODE:
| Mode | Sign-in methods |
|---|---|
local | ExcaliDash accounts |
hybrid | ExcaliDash accounts and OpenID Connect |
oidc_enforced | OpenID Connect only |
disabled | No sign-in; one shared identity |
Use disabled only in an isolated, trusted environment. Every visitor has the same access.
Local accounts
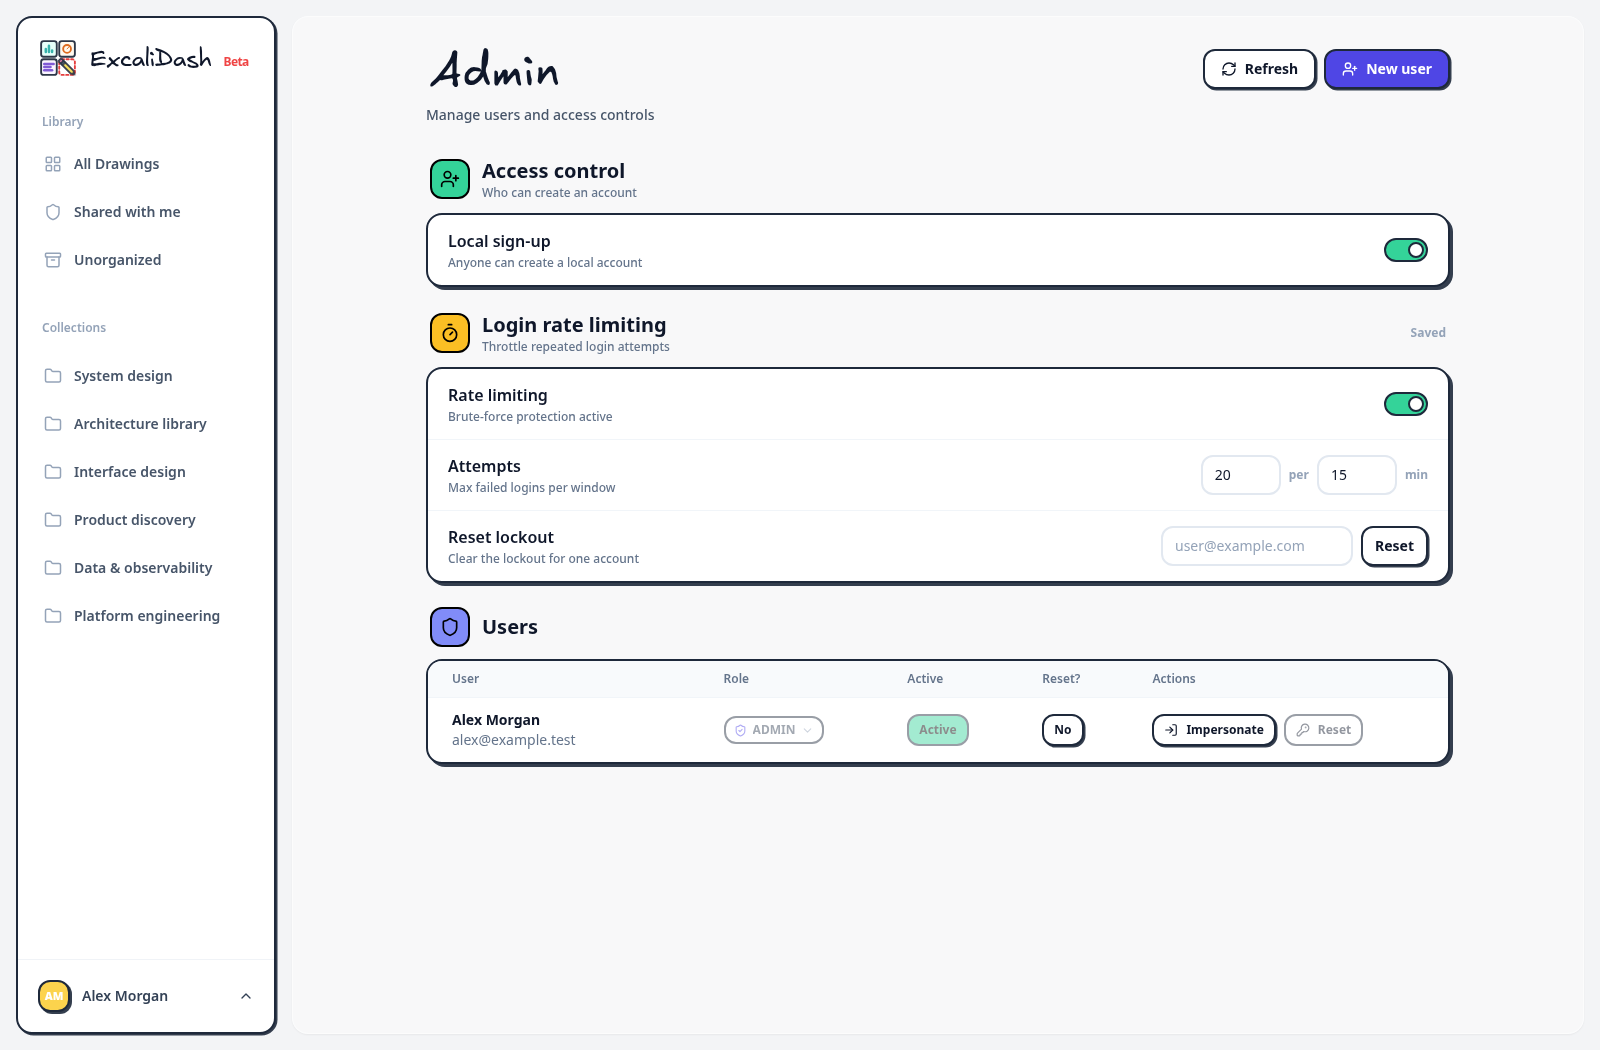
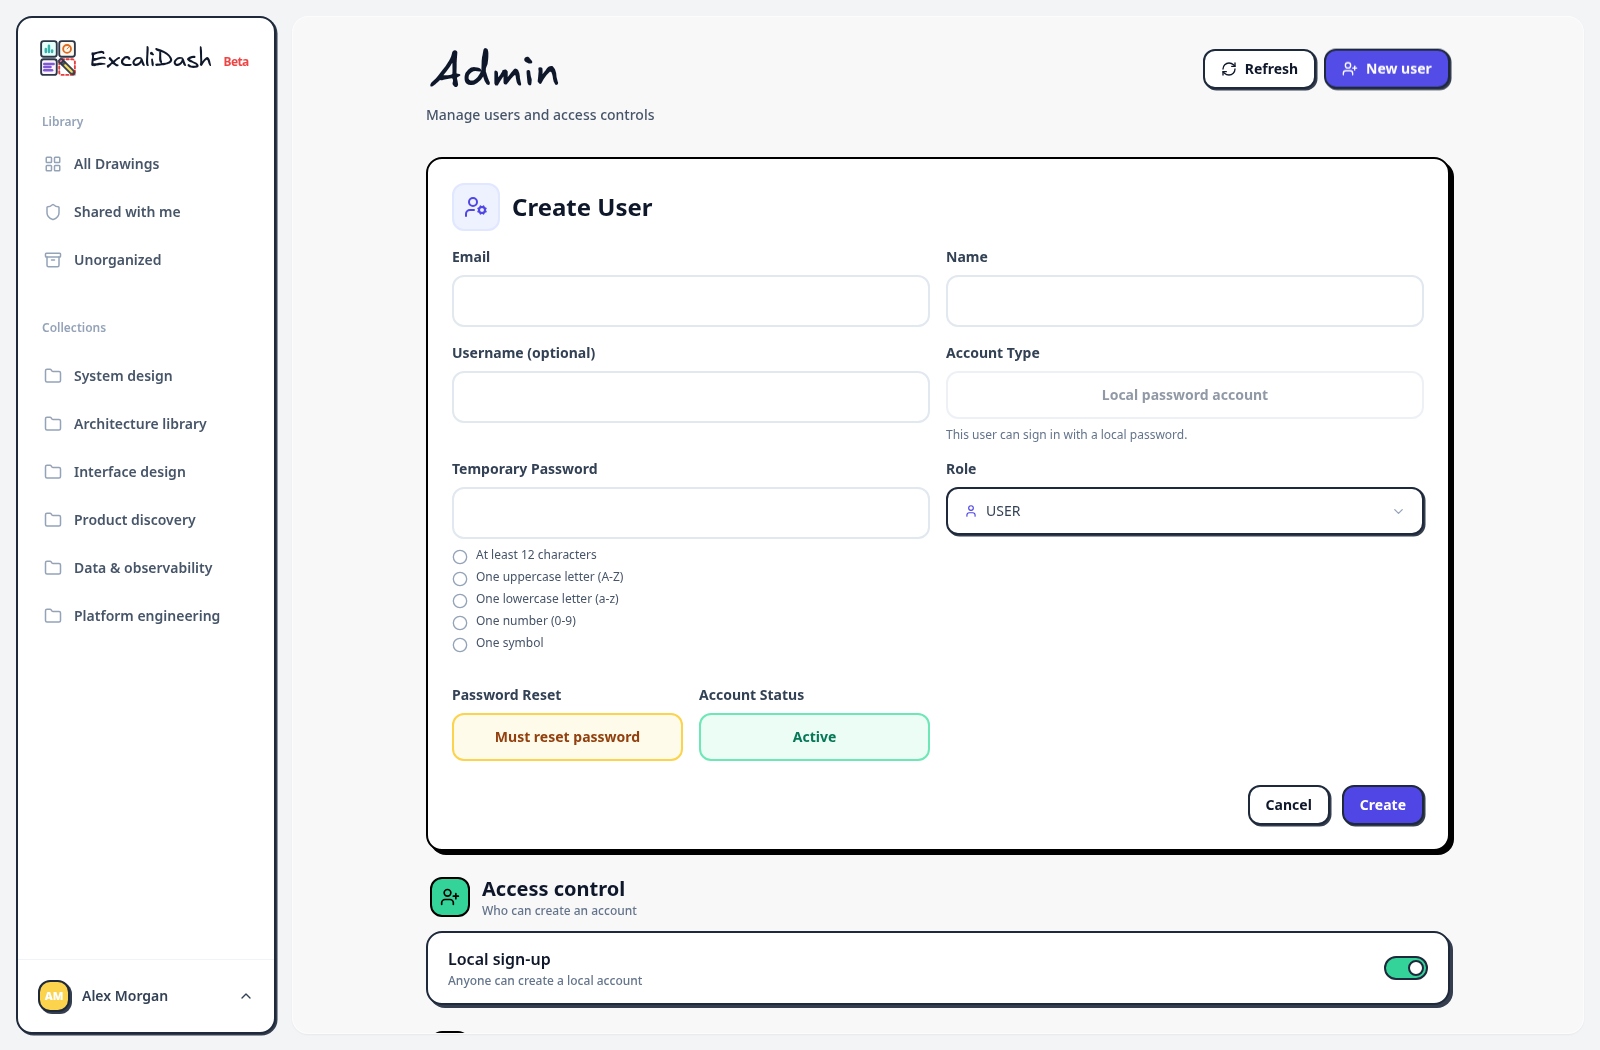
Complete first-run setup. In Admin, select New user to create an account. Registration settings control whether people can create their own accounts.
Open the account menu and select Admin. Use the registration setting if you want people to create their own accounts.
Create an account
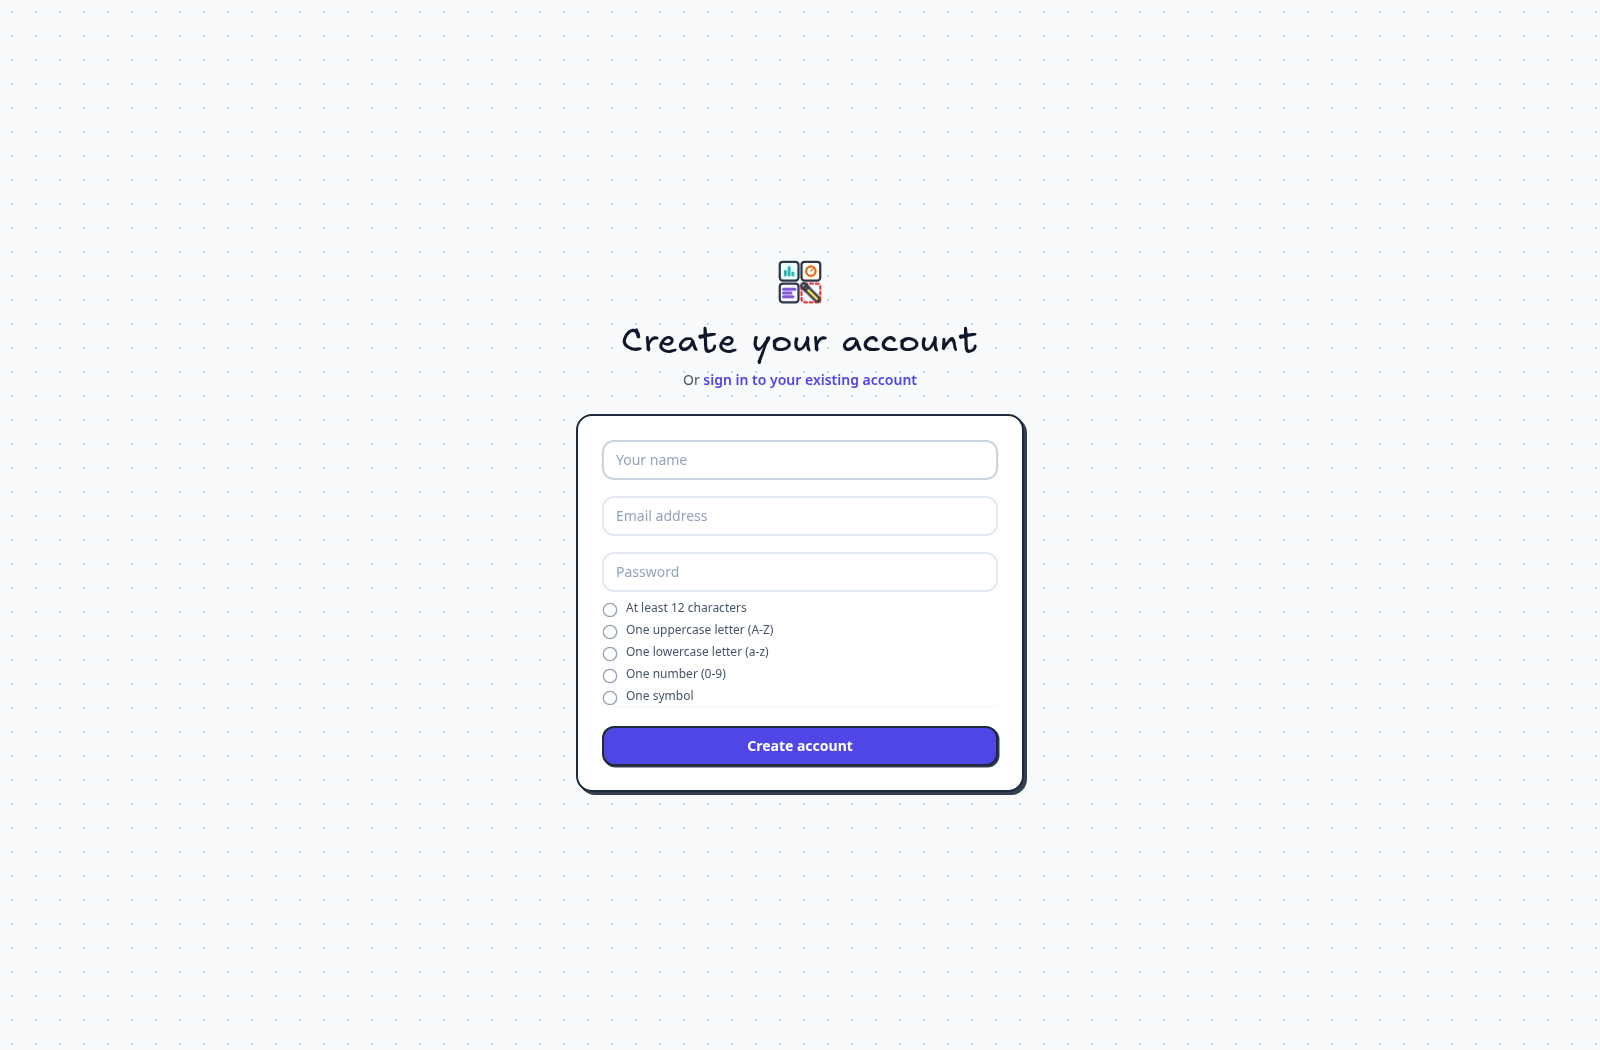
If the administrator has enabled registration, select create a new account on the sign-in page. Enter your name, email, password, and password confirmation, then select Create account. The one-time setup code is only needed when creating the first administrator.
Sign in
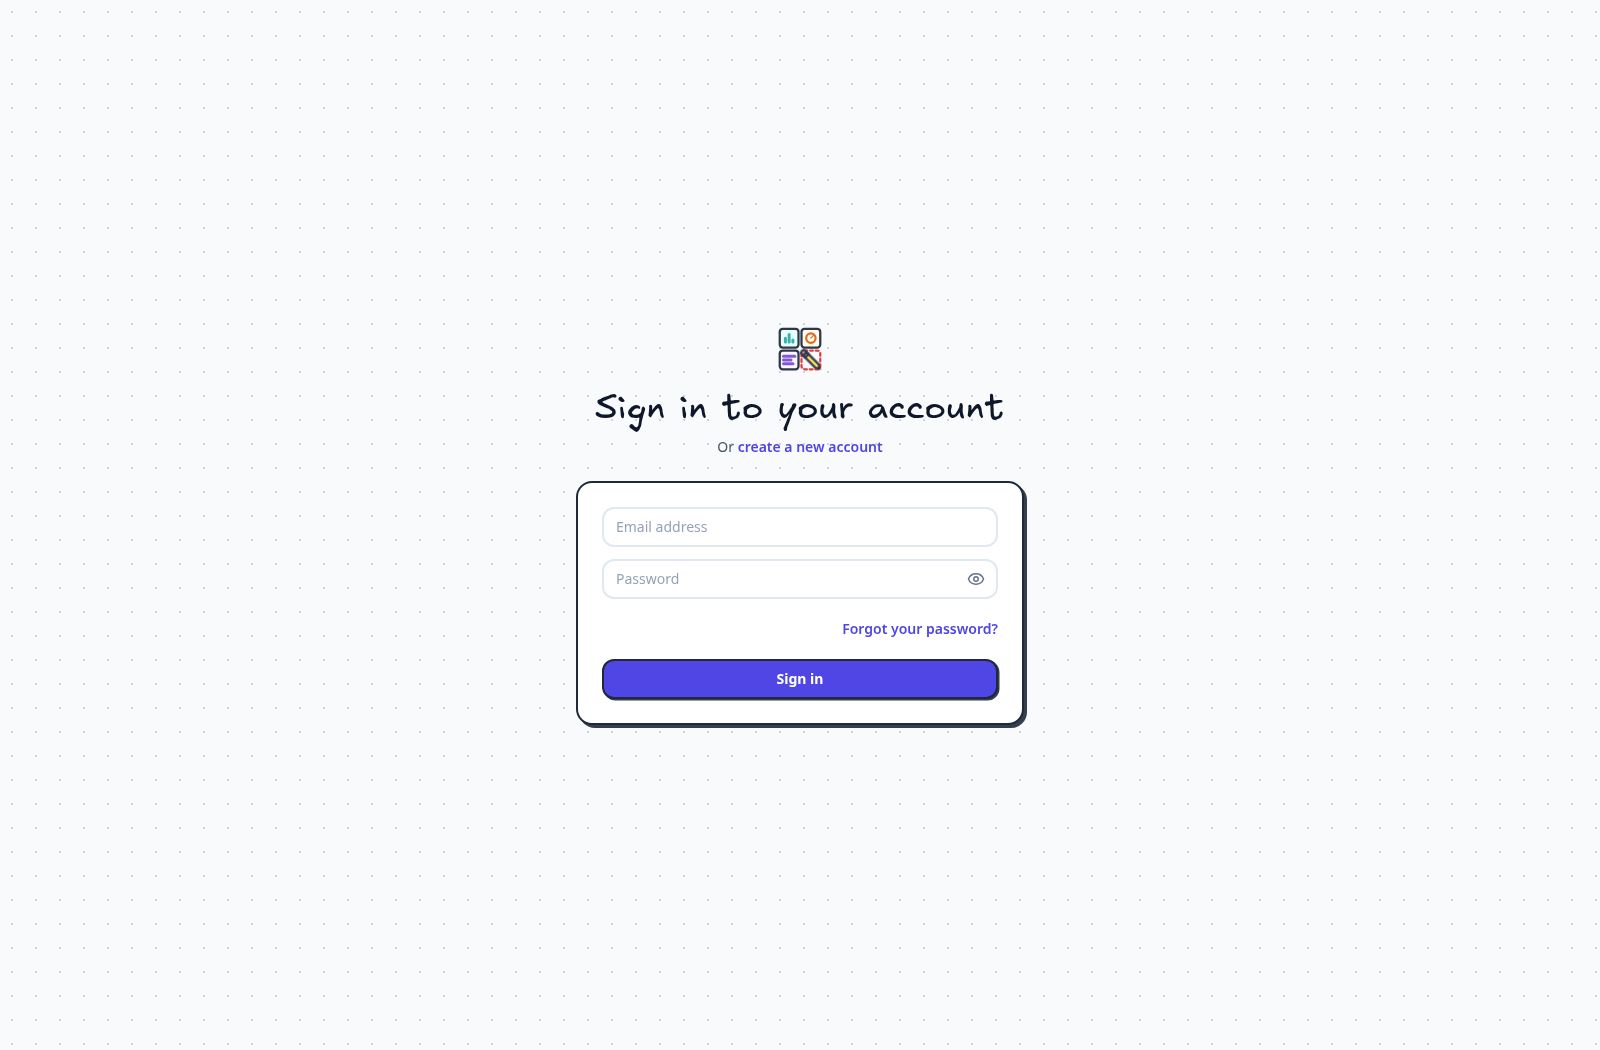
Enter your email address and password, then select Sign in. If you use OpenID Connect, follow the provider sign-in option configured for your instance.
Reset your password
The administrator must enable password reset and configure email delivery. See the email settings.
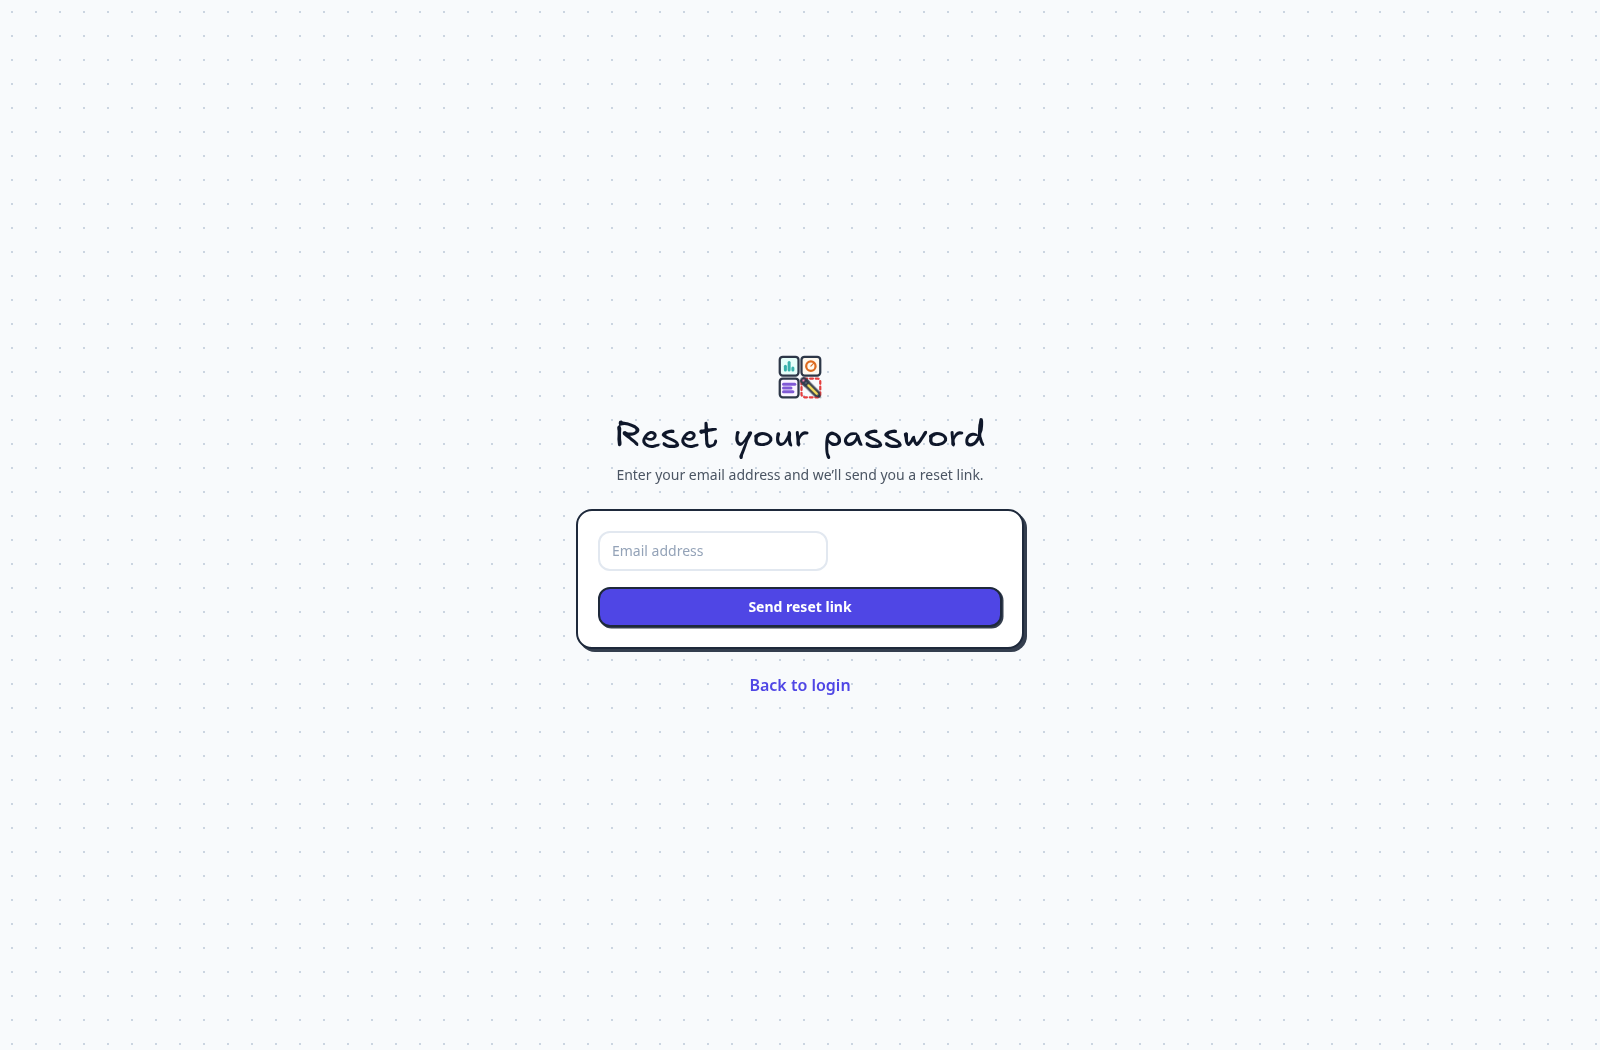
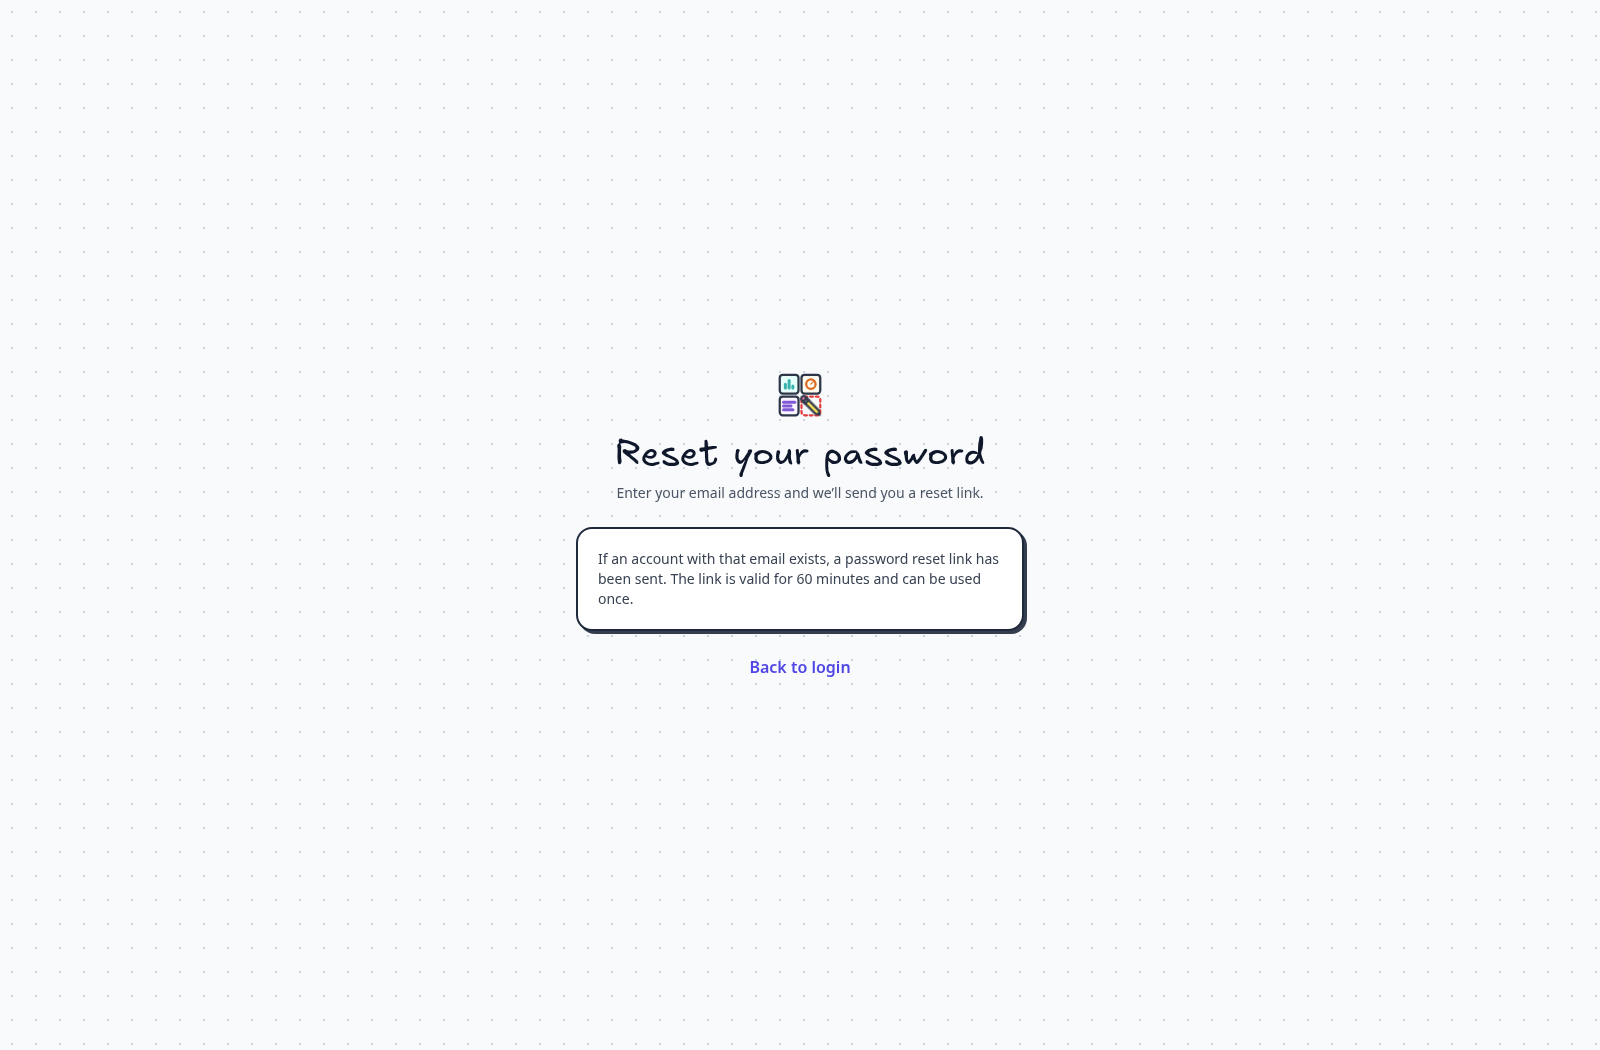
On the sign-in page, select Forgot your password? Enter your email address and select Send reset link.
Configure OpenID Connect
In your identity provider, create an OpenID Connect client.
Register
https://YOUR_HOST/api/auth/oidc/callbackas its redirect URI. ReplaceYOUR_HOSTwith your ExcaliDash hostname.Add the provider settings to
compose.override.yml:yamlservices: backend: environment: AUTH_MODE: hybrid FRONTEND_URL: https://draw.example.com OIDC_ISSUER_URL: ${OIDC_ISSUER_URL:?Set OIDC_ISSUER_URL} OIDC_CLIENT_ID: ${OIDC_CLIENT_ID:?Set OIDC_CLIENT_ID} OIDC_CLIENT_SECRET: ${OIDC_CLIENT_SECRET:?Set OIDC_CLIENT_SECRET} OIDC_REDIRECT_URI: https://draw.example.com/api/auth/oidc/callbackReplace
draw.example.comwith your hostname. Set the issuer URL, client ID, and client secret in the root.envfile.Apply the override:
bashdocker compose -f docker-compose.prod.yml -f compose.override.yml up -dOpen ExcaliDash and sign in with the provider.
Notes: OIDC_JIT_PROVISIONING=true creates accounts on first sign-in. OIDC_FIRST_USER_ADMIN=true grants administrator access to the first provisioned OIDC user. Both default to true.
To require provider sign-in, set AUTH_MODE to oidc_enforced.
Troubleshoot provider sign-in
Check that the redirect URI matches exactly, including the scheme and path. Read the backend logs for discovery or callback errors:
docker compose -f docker-compose.prod.yml logs --tail=100 backendSee the environment reference for related settings.